How to Create a Vault
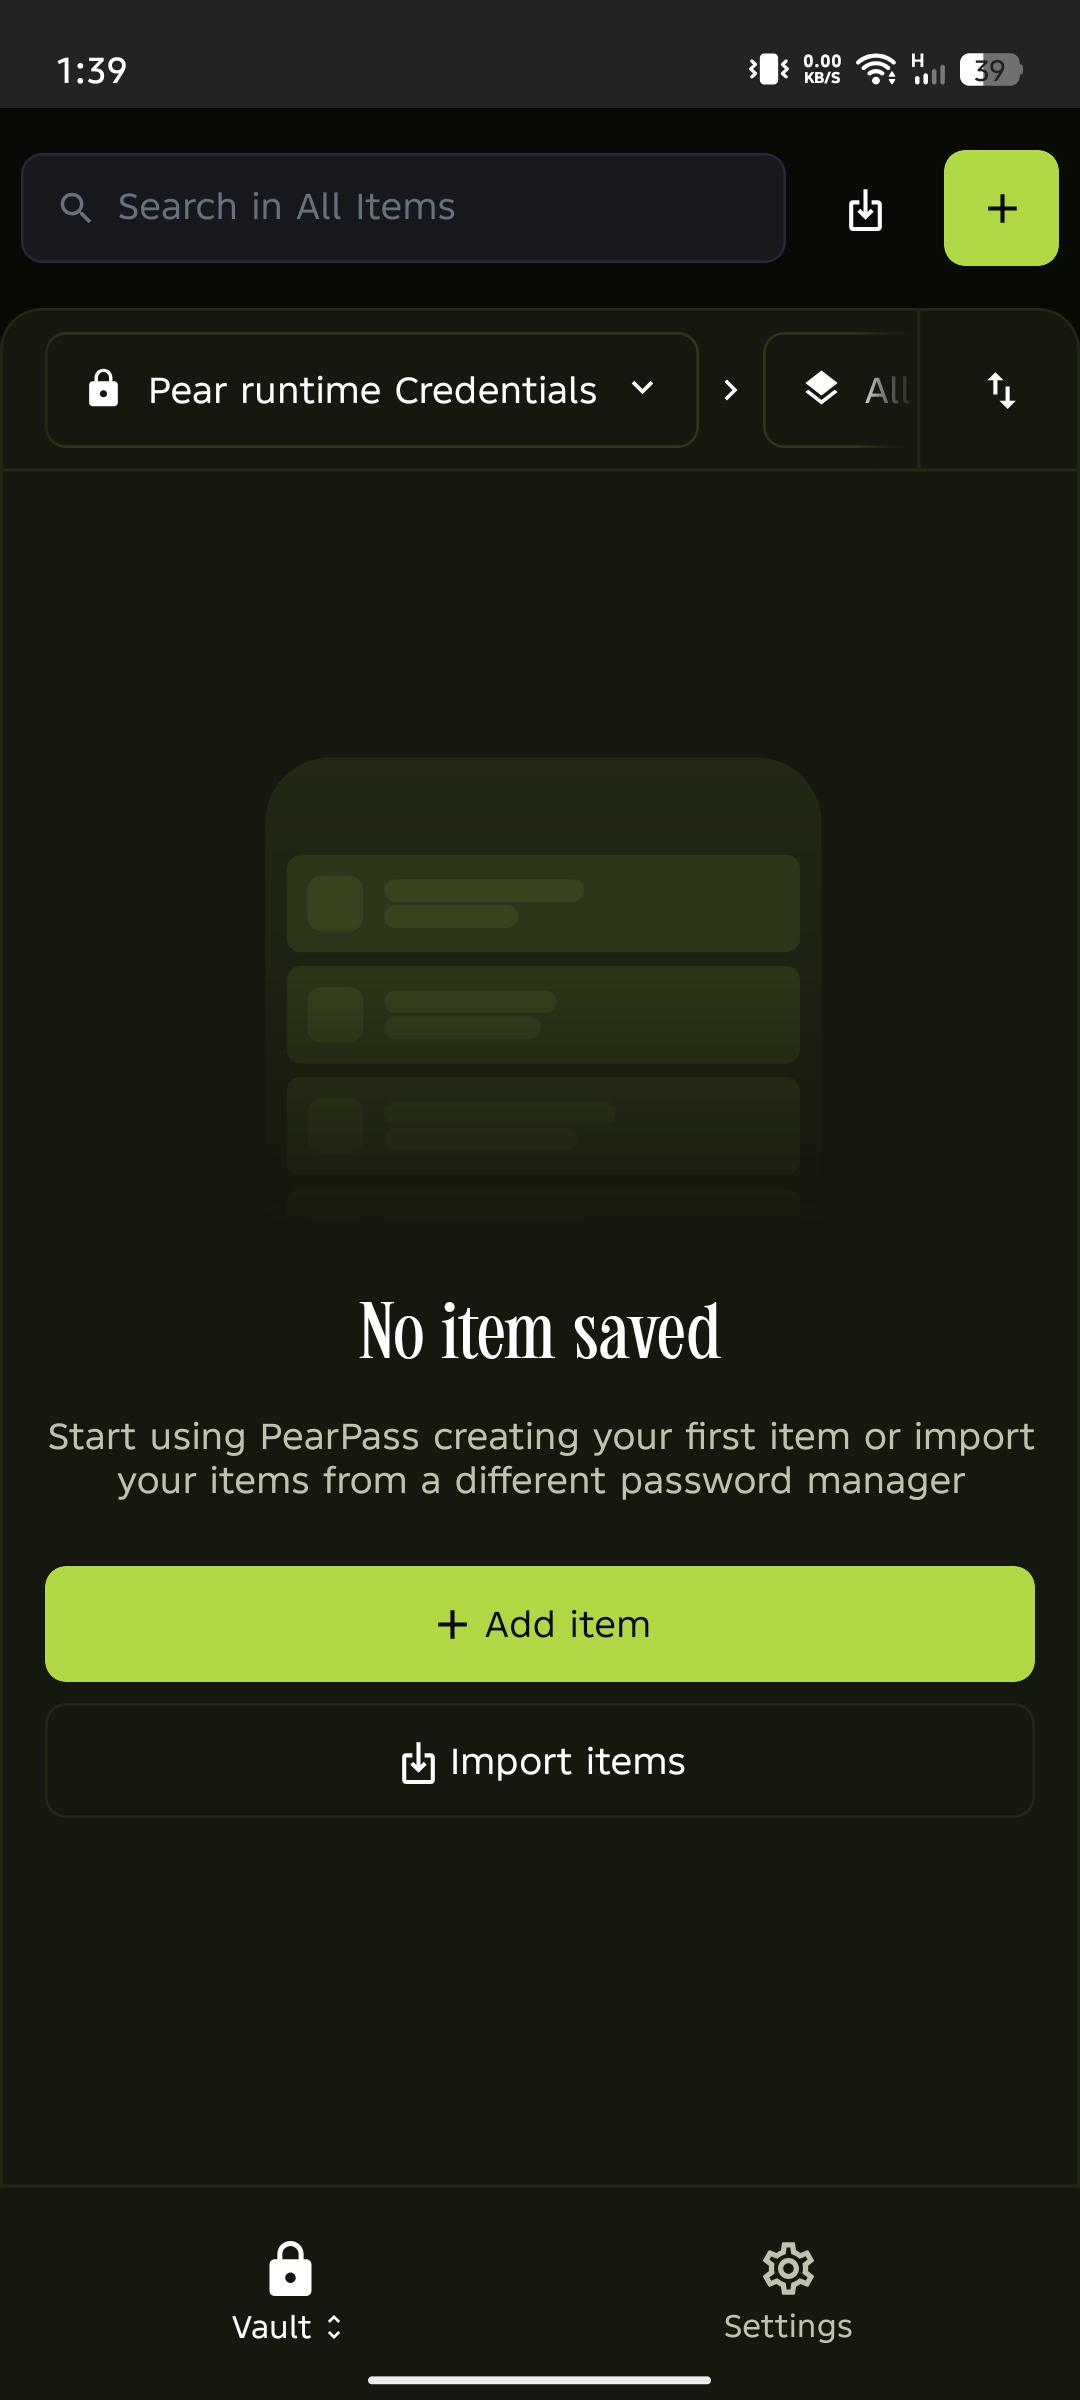
A vault is where PearPass securely stores your passwords, notes, and other sensitive information. By the end of this walkthrough, you'll have a fully set-up vault and be ready to start adding items.
Sign in
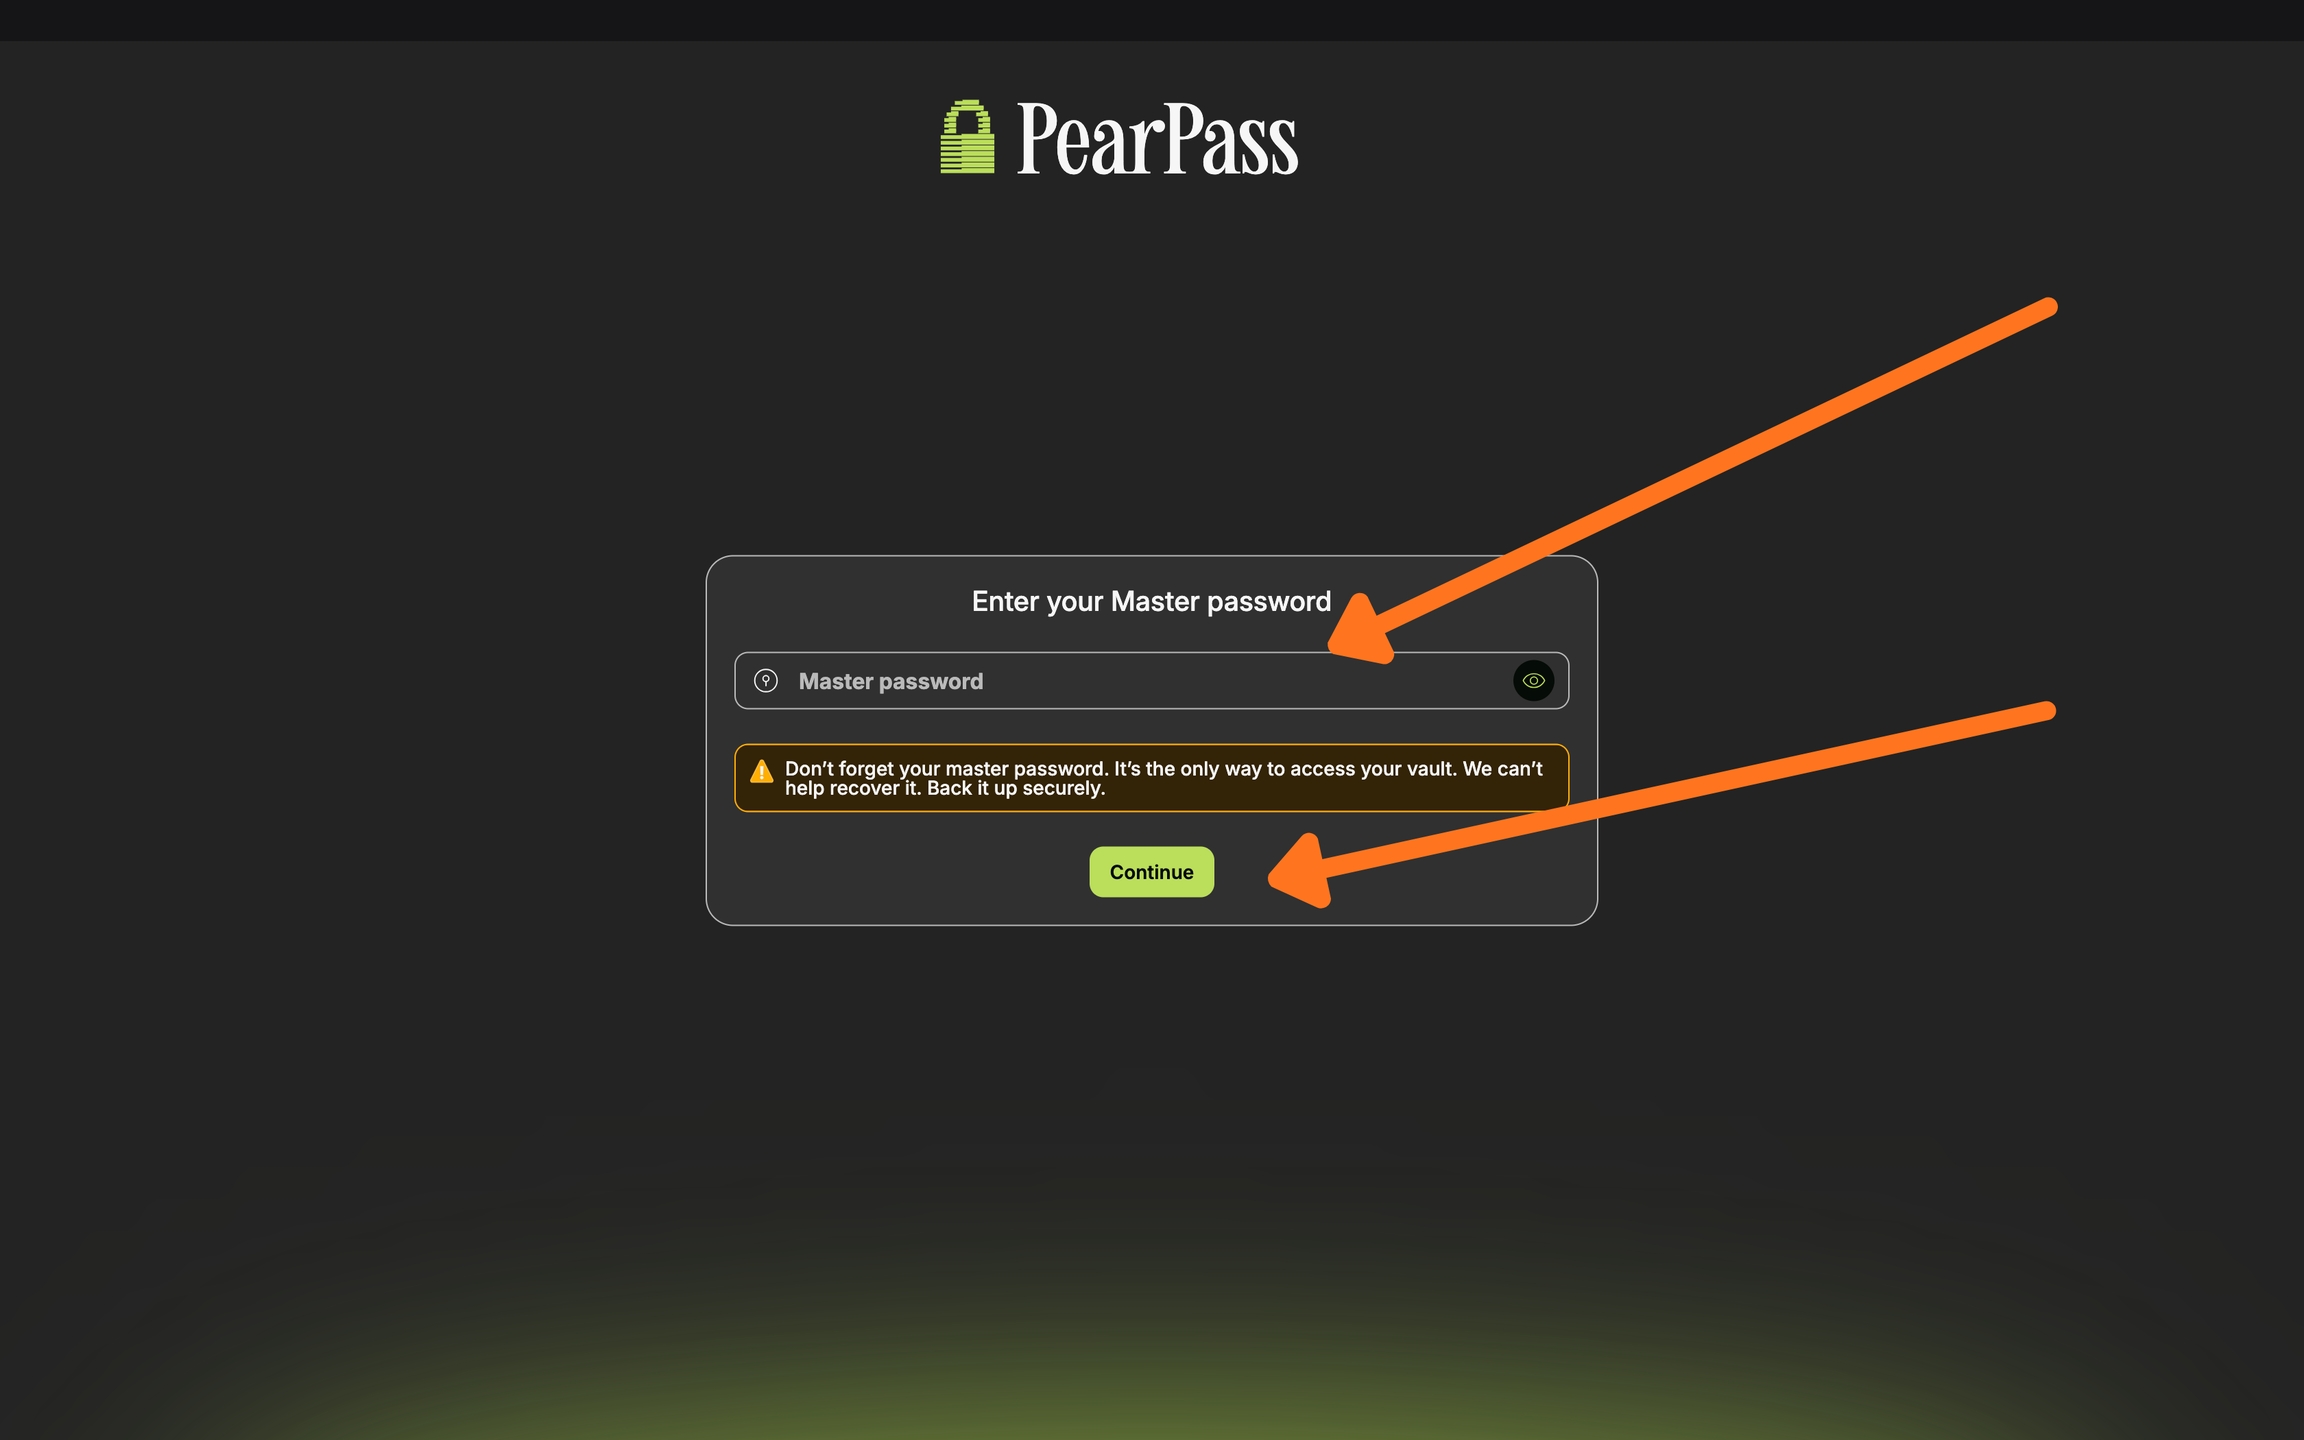
Open your PearPass application on your computer and sign in with your master password.
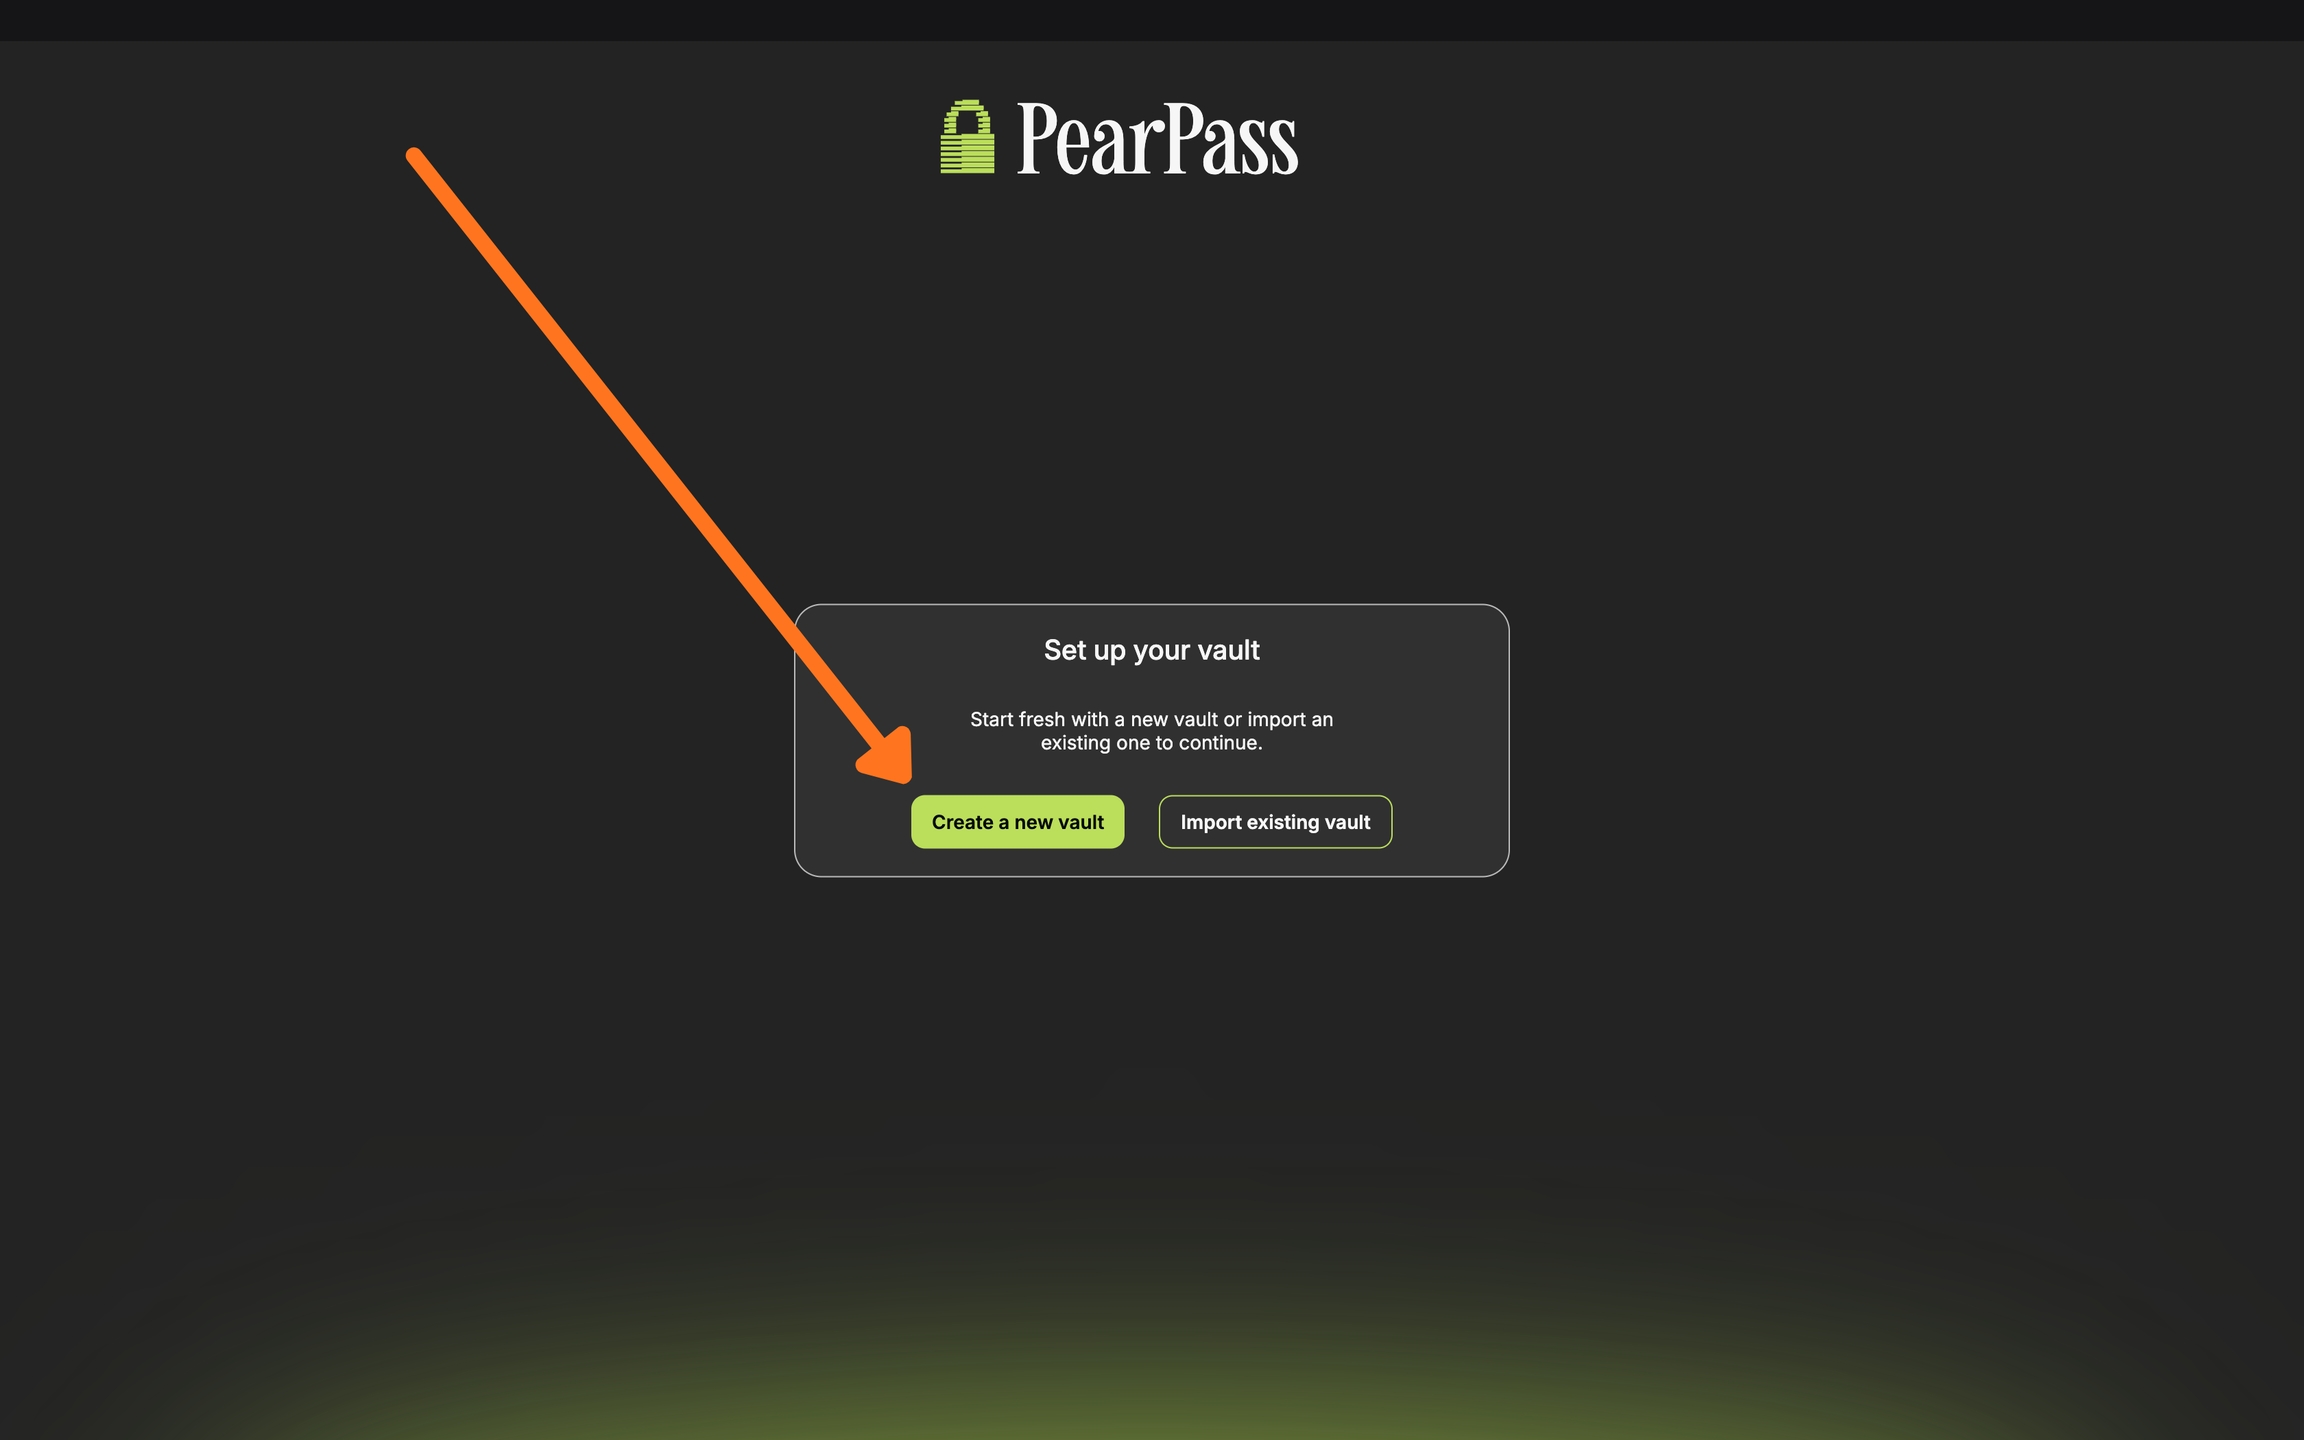
Create a new vault
Click the Create a new vault button. This will open the vault setup screen.
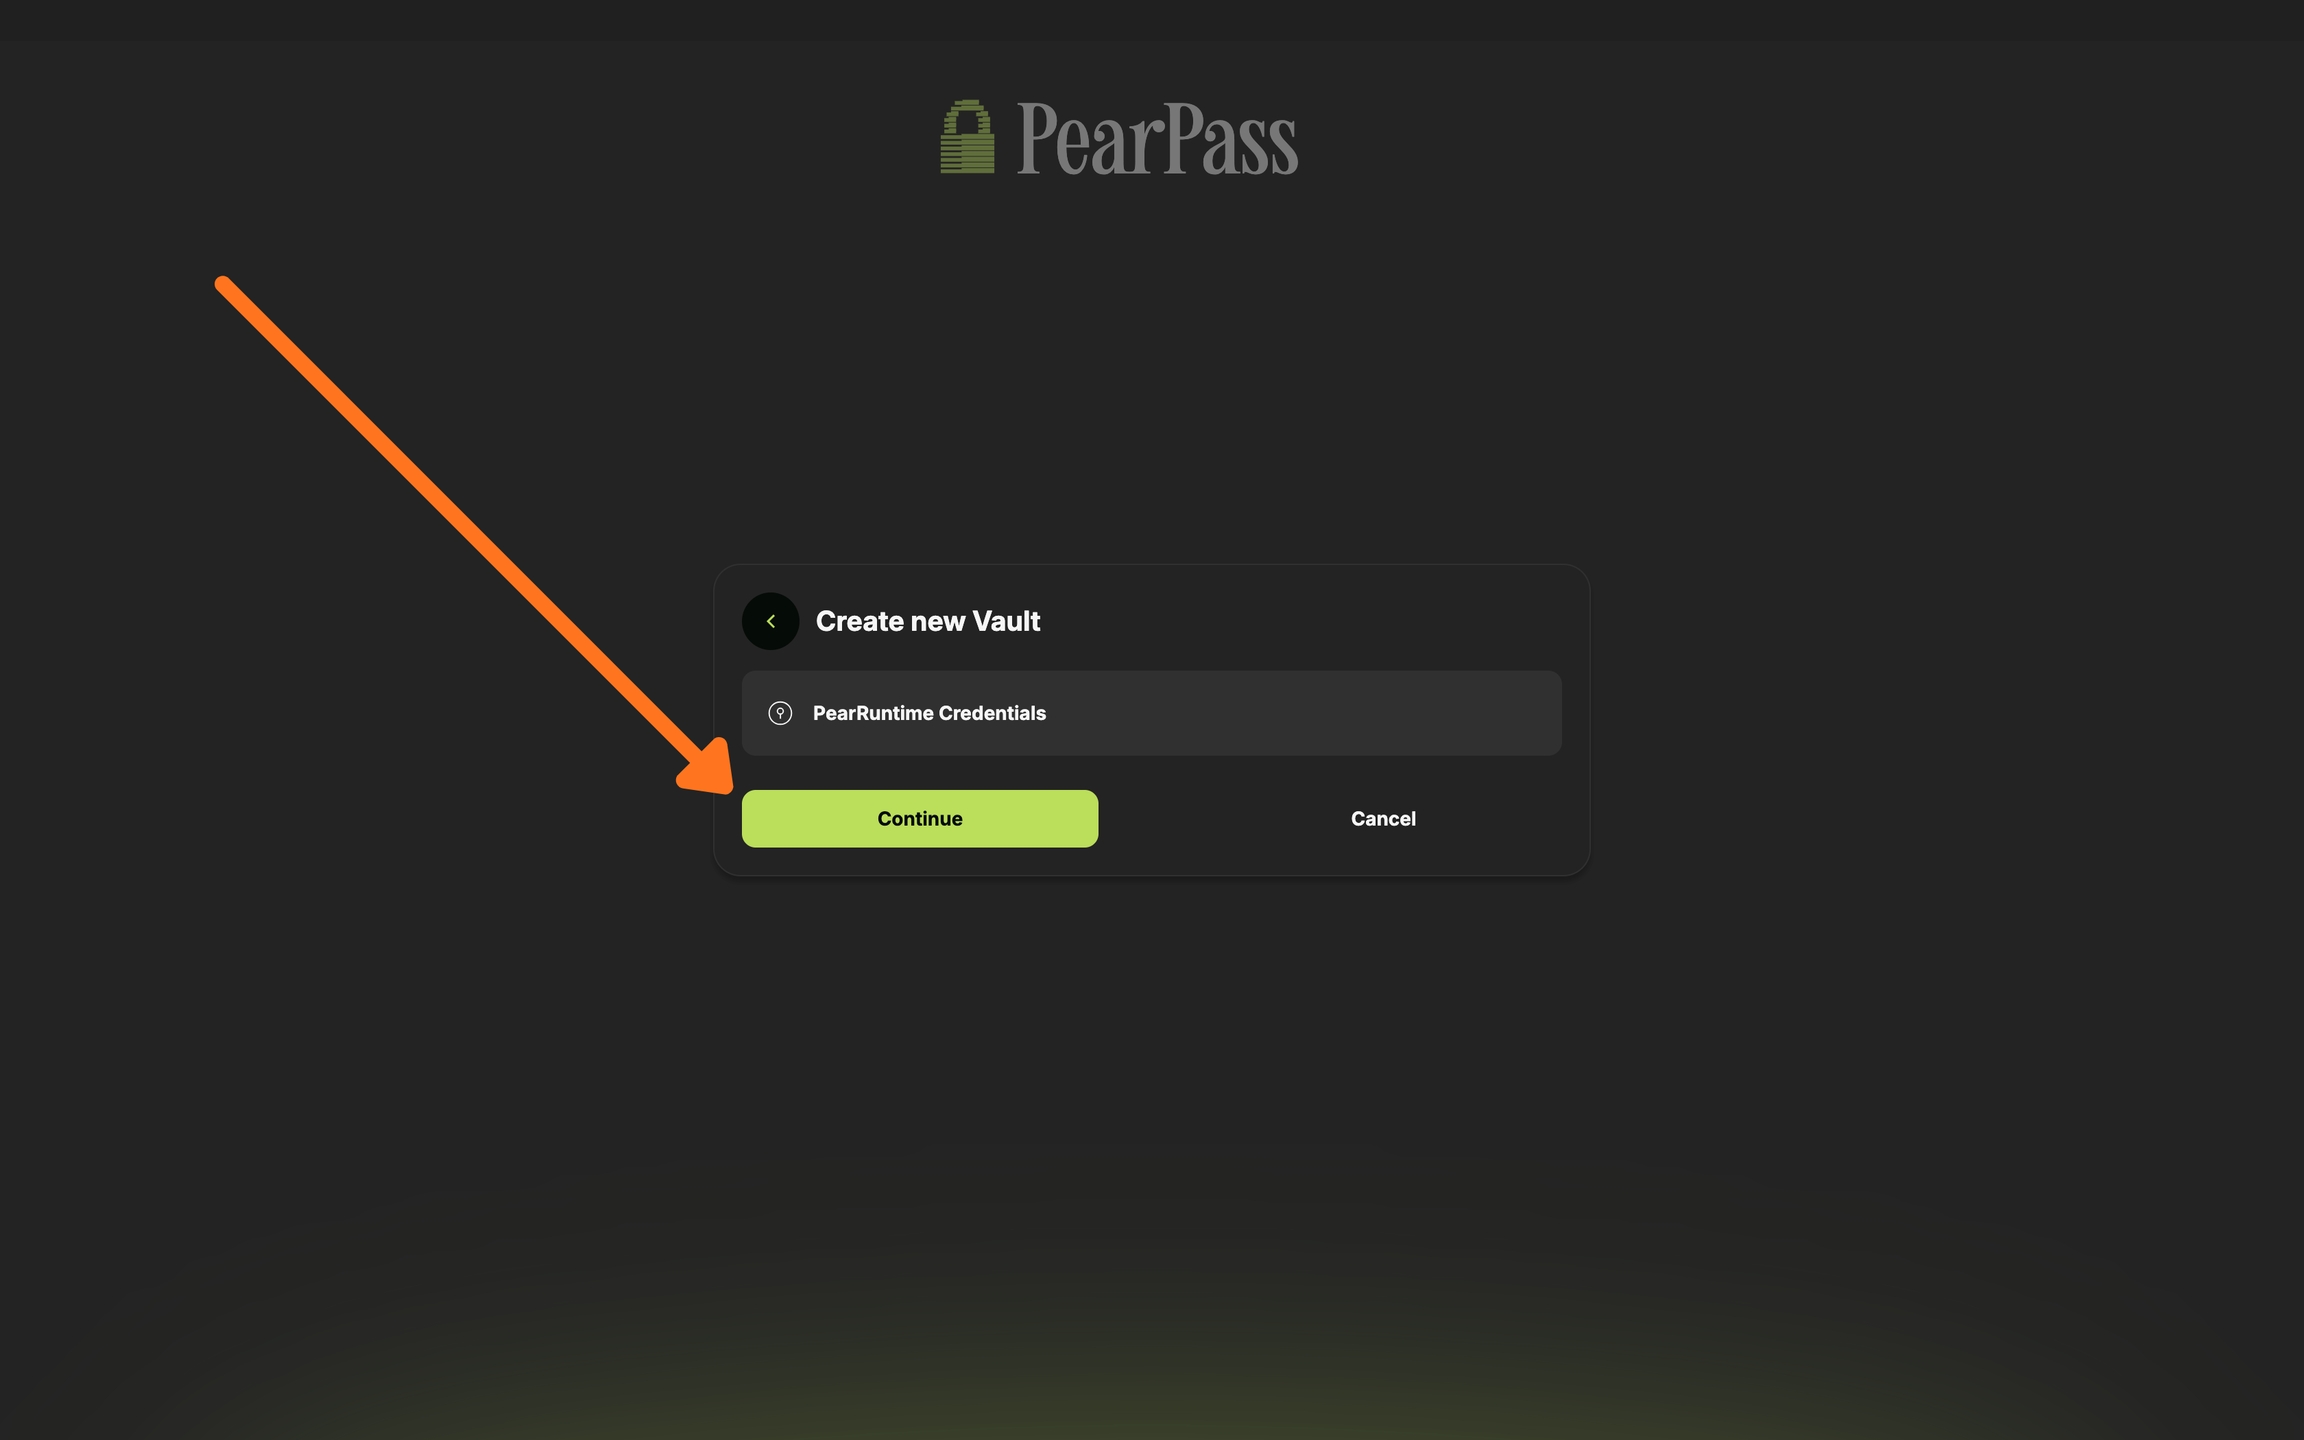
Name your vault
Enter a name for your vault. Choose something meaningful to help you identify it later.

Continue
Click Continue, and your new vault is ready. You can now start adding passwords, credentials, or secure notes immediately.
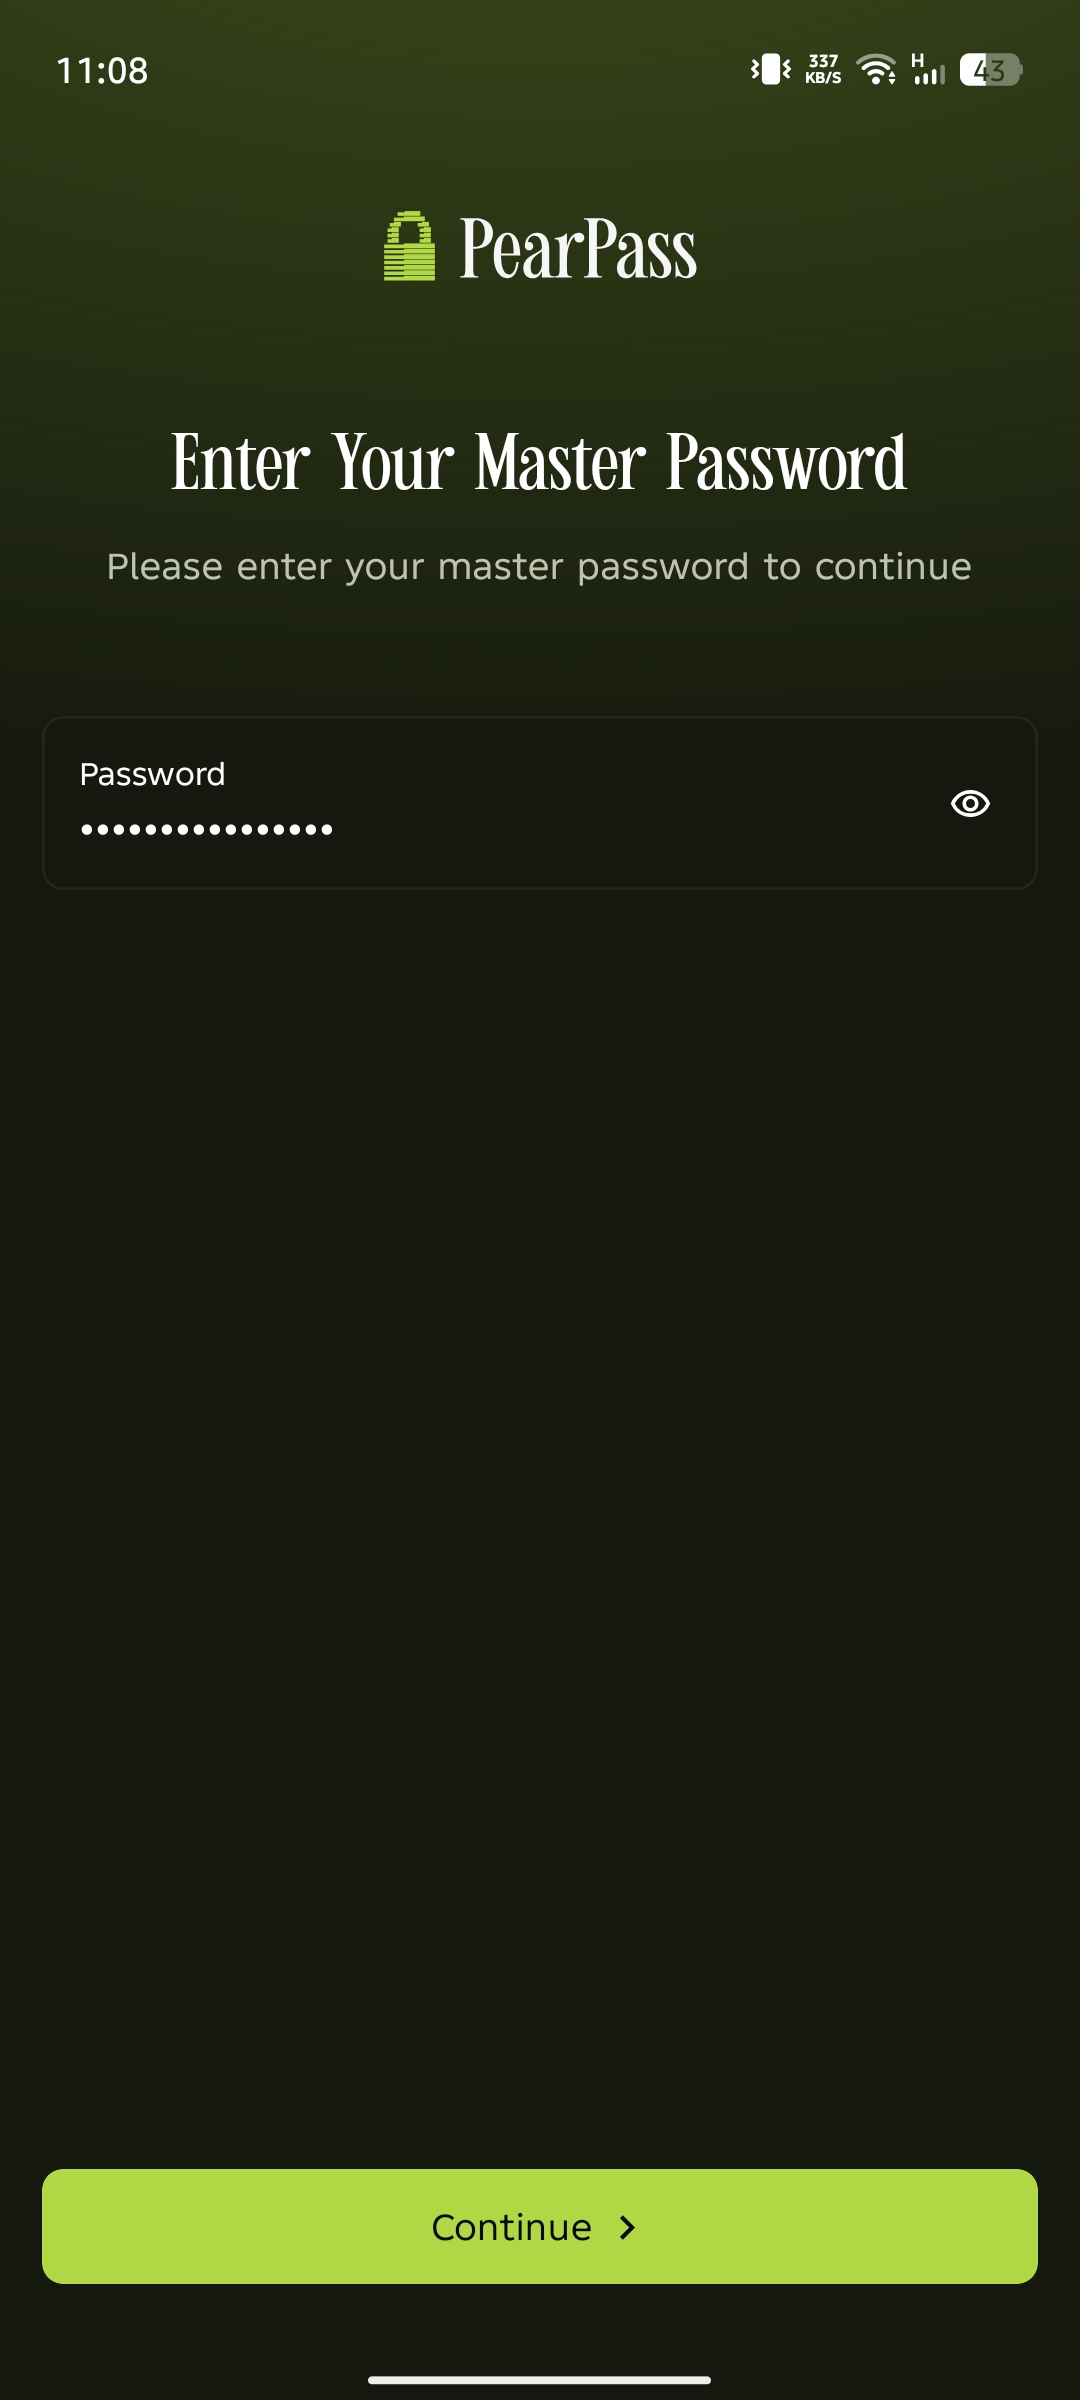
Sign in
Open PearPass on your mobile device and sign in with your master password.
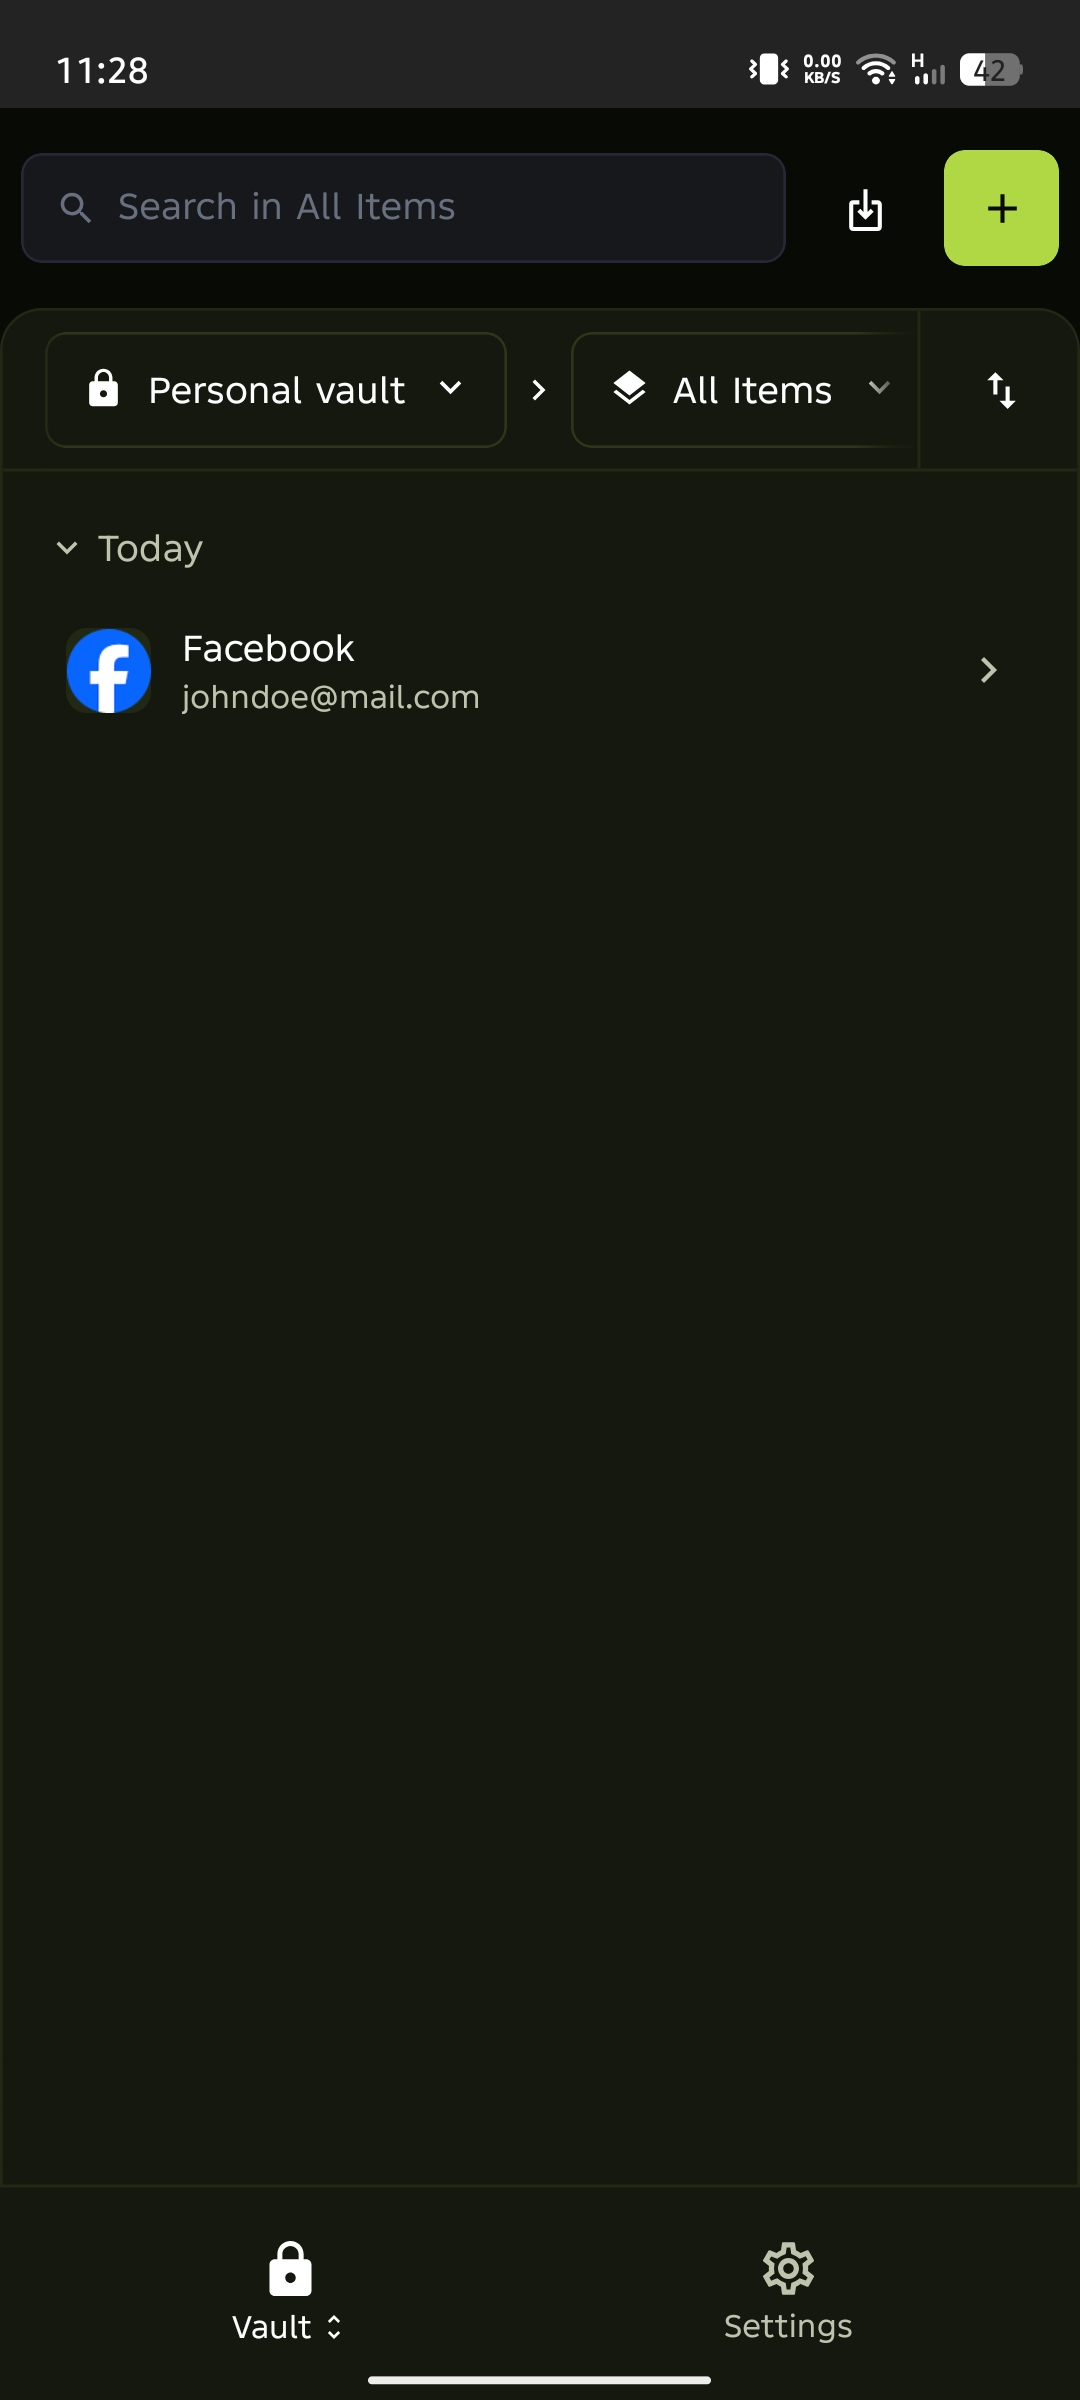
Open the vault menu
Tap the vault name dropdown below the search bar to open the vault menu. Alternatively, press and hold the padlock icon in the bottom menu.
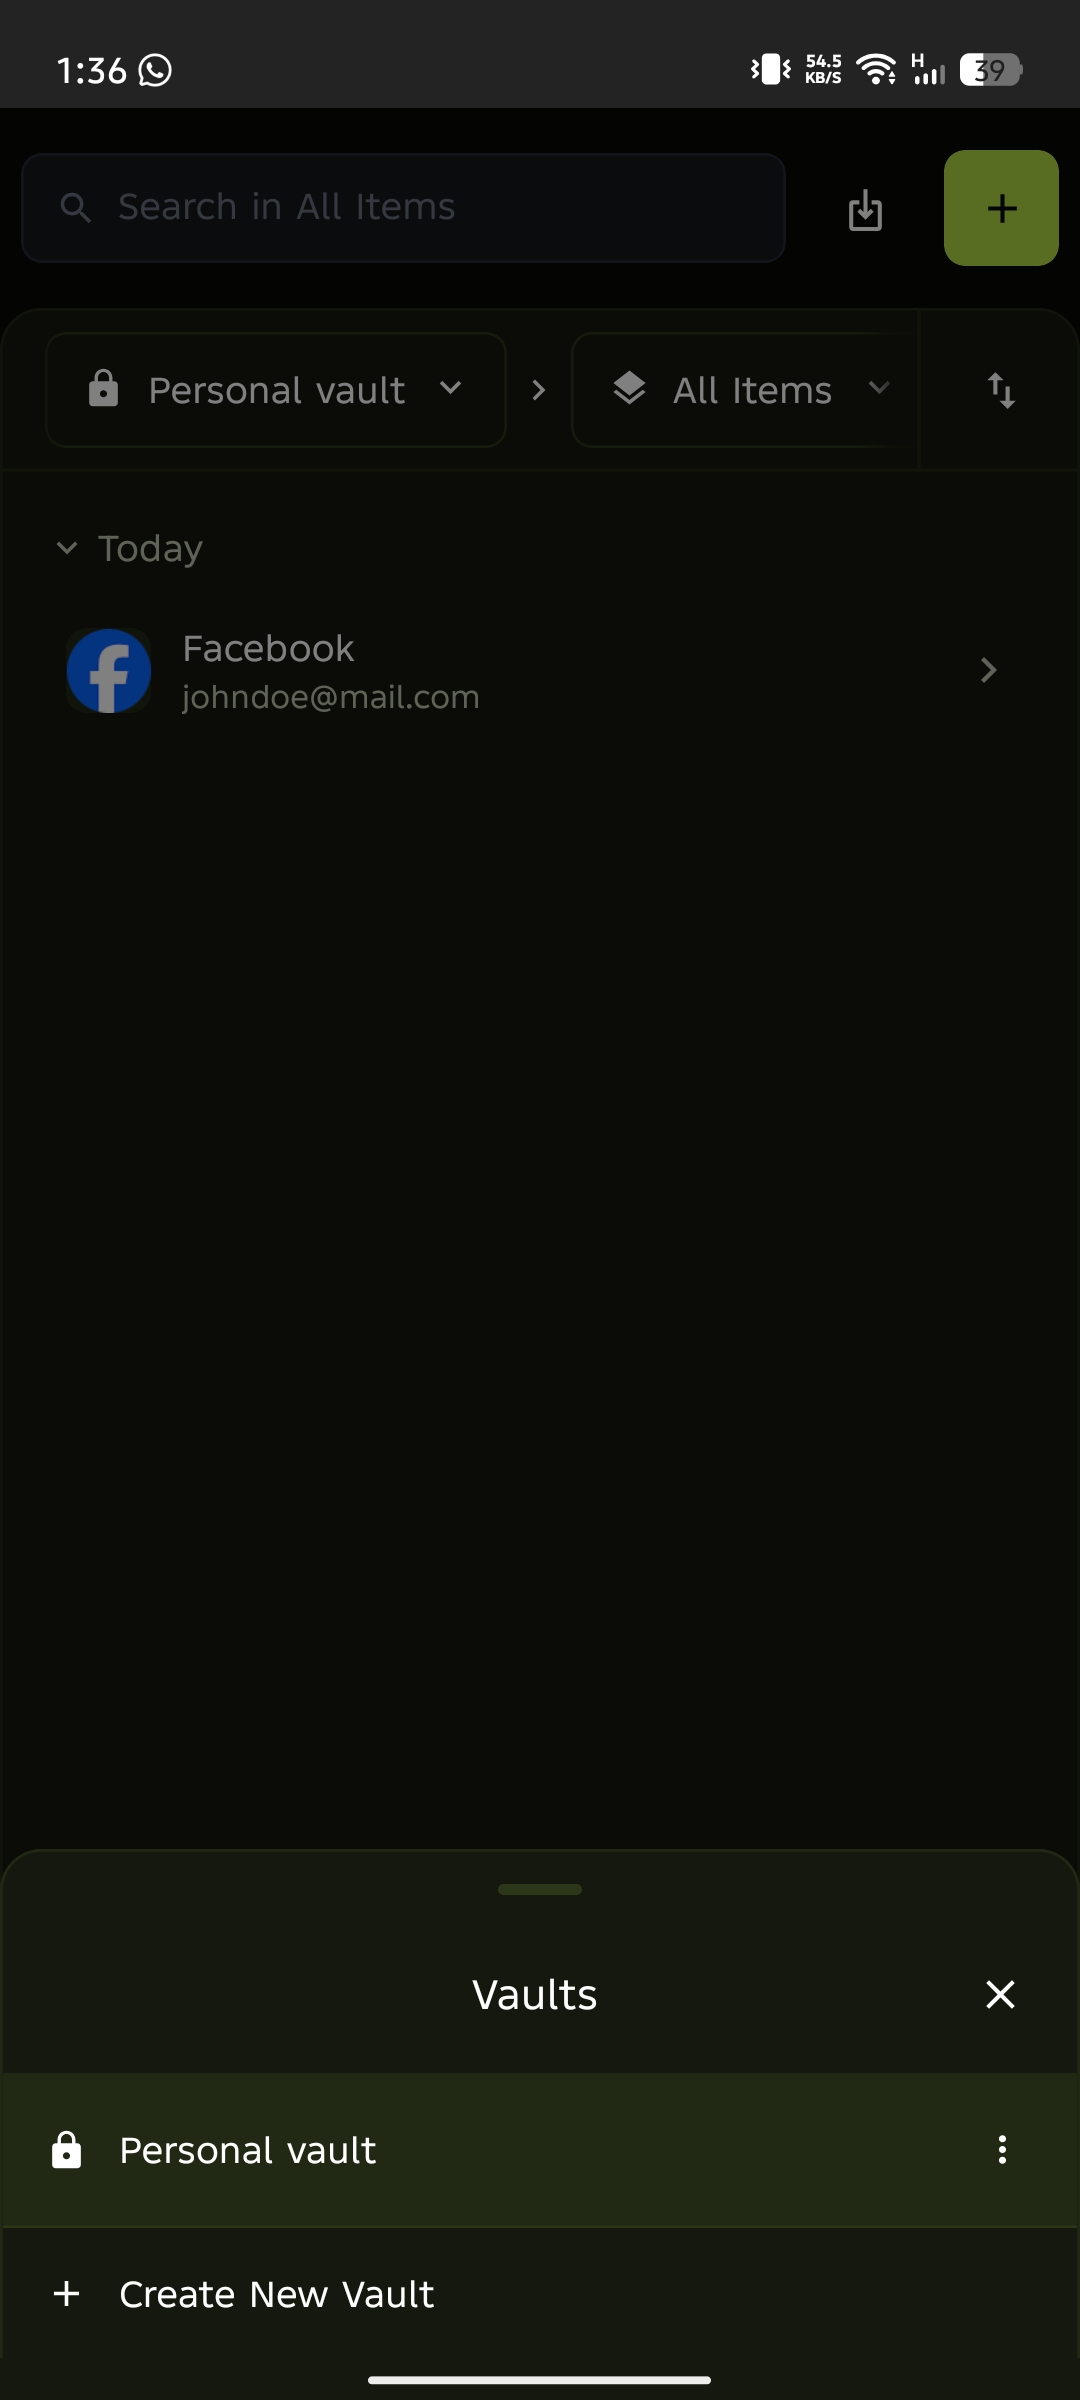
Create New Vault
Tap Create New Vault from the vault menu.
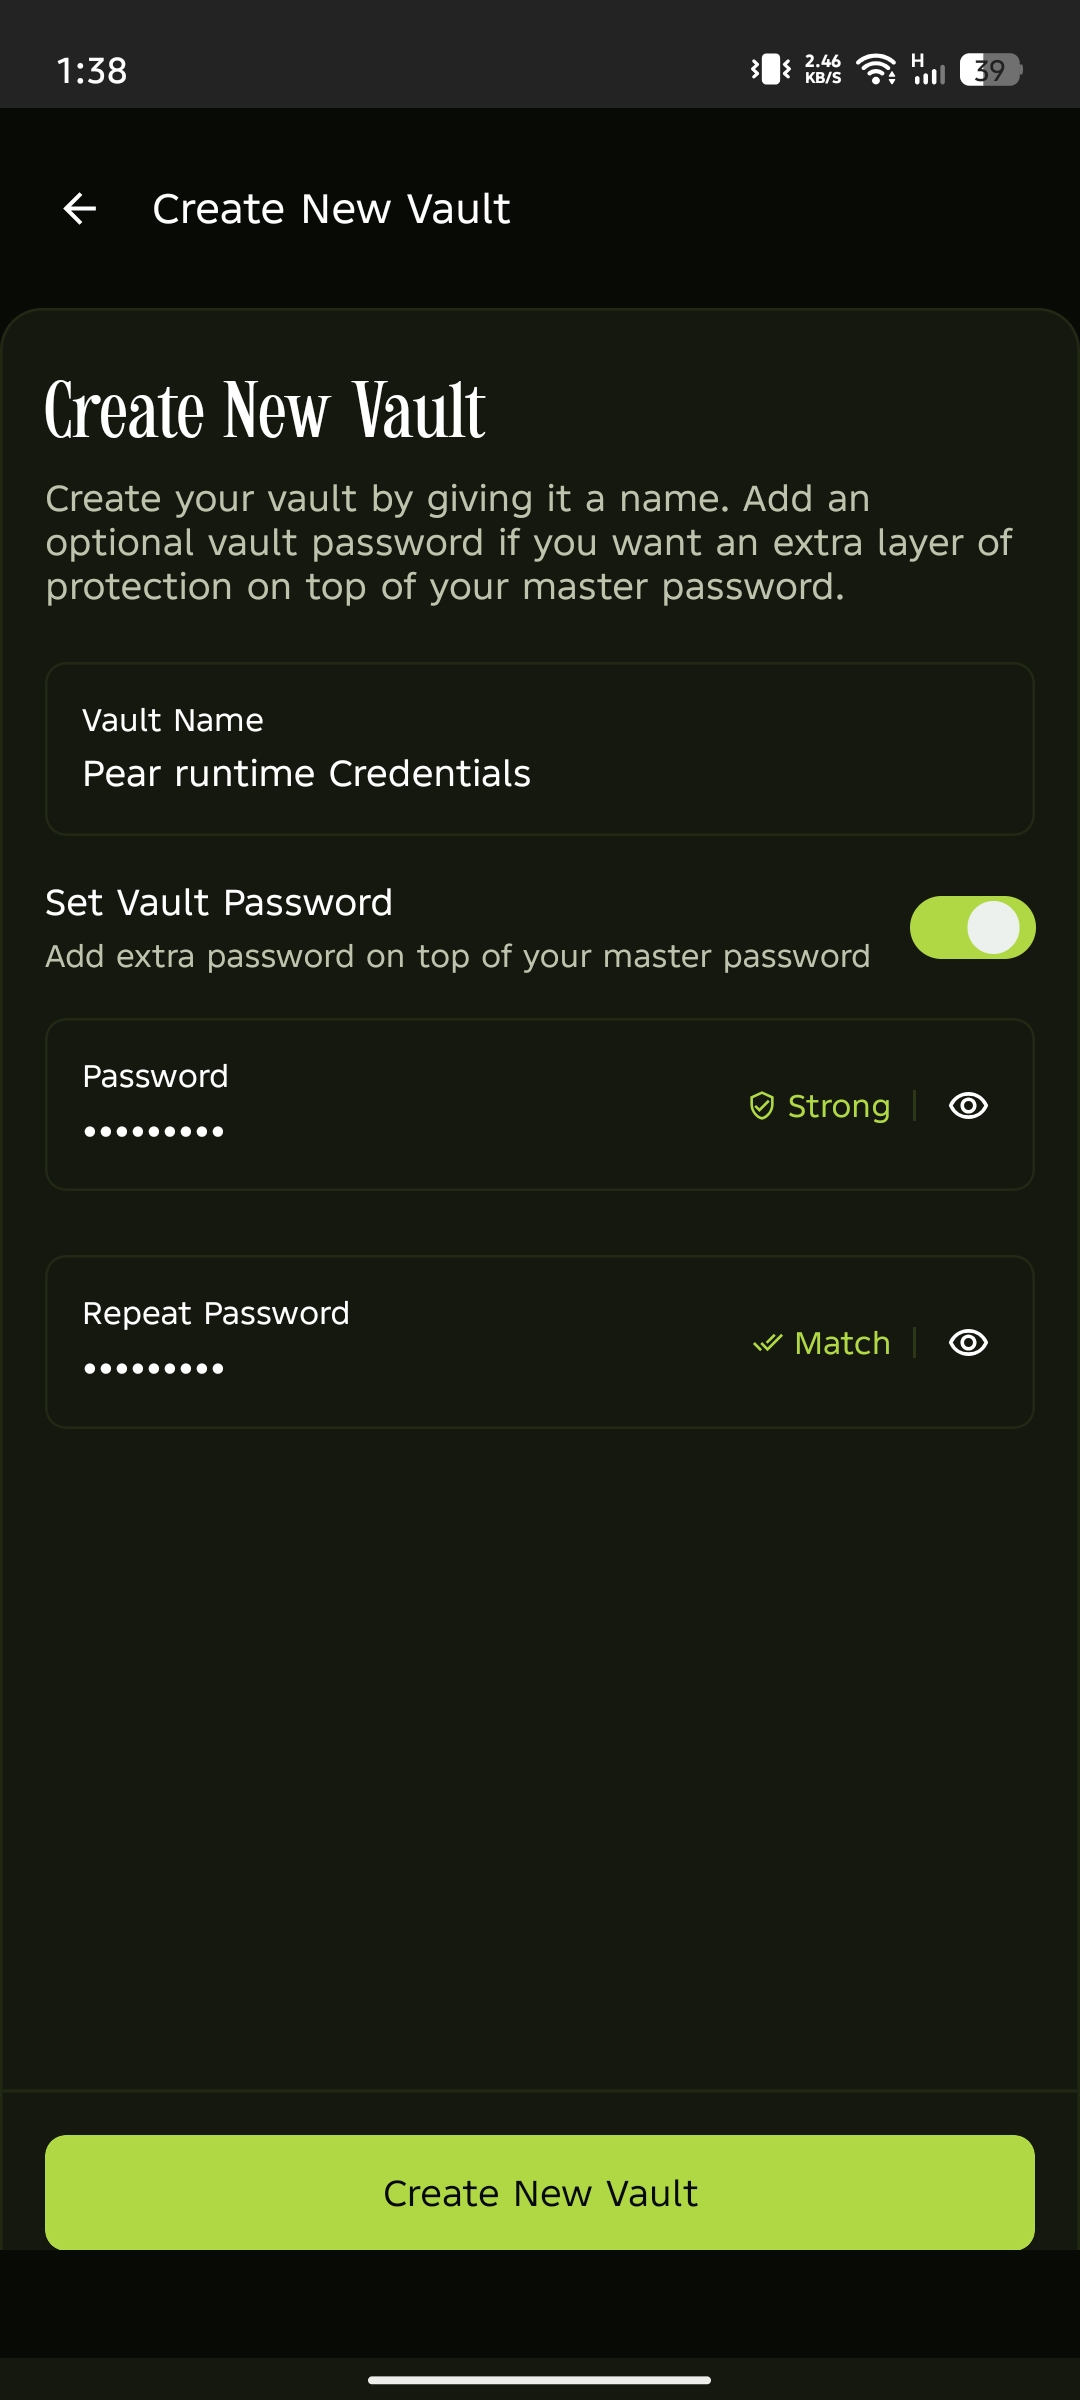
Enter vault details
Enter a name for your vault. Optionally, toggle Set Vault Password to add an extra password on top of your master password. Tap Create New Vault to save your vault.
Your new vault is ready
Your new vault is created and ready to use. Start adding passwords, credentials, or secure notes.